Decorated Pencils & Holder

Instructions
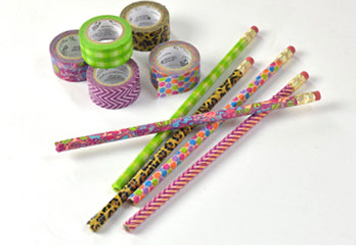
1. Start by cutting a strip of Washi Tape about the same length as your pencil. Affix the tape onto your pencil and carefully press it down to avoid wrinkles or bubbles.
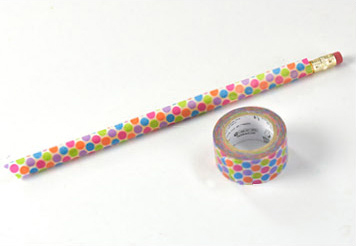
2. You will need to do this with two strips of tape to fully cover each pencil. When you're done, trim the edges and sharpen your pencils.
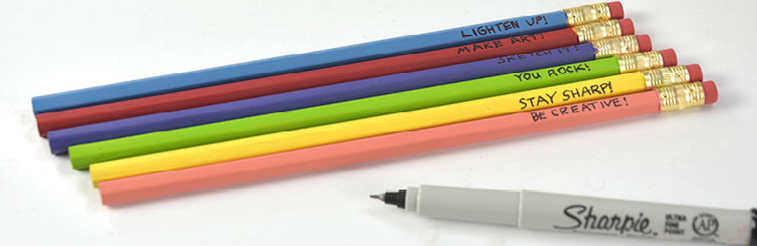
3. After a few hours' drying time, use a sharpened pencil to write some inspirational and fun messages on the pencils. When you're satisfied with your messages, go over the pencil lines with the Black Ultra-Fine Sharpie. Remove the tape and sharpen your pencils when you're finished.
Air-Dry Clay Pencil Holder
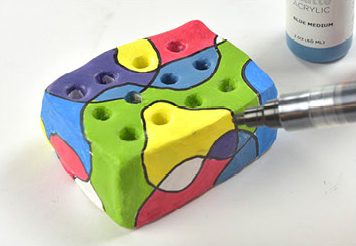
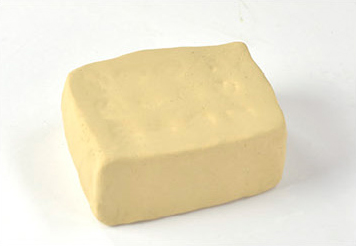
1. Start by forming a large portion of the Crayola Air-Dry Clay into a rough rectangular block that is 2" long by 3" wide and about 1-1/2" high. You can use any flat tool — such as a ruler — to get the edges straight.
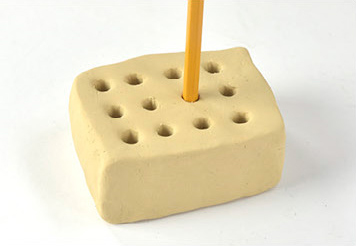
2. Use a pencil to poke 12 holes in the top of your clay block. Twist the pencil around a bit in each hole to make sure pencils will fit inside later. The drying time of the clay will vary, but overnight should be enough. Leave the clay in a dry place outside to increase drying speed.
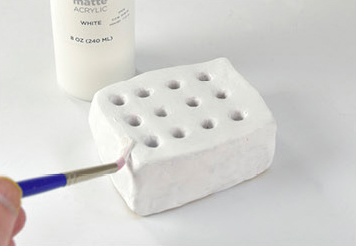
3. When the clay is dry enough, paint your block with white Blick Matte Acrylic paint.
4. After drying, draw intersecting curved lines in pencil over the top and sides of the block.

5. Paint each section within the curved lines using the acrylic paint colors of your choice.
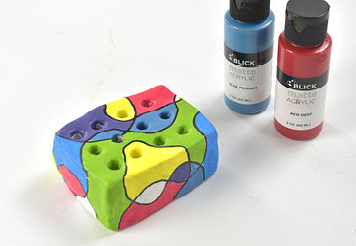
6. When the paint is fully dried, trace over the original pencil lines with the black paint marker.