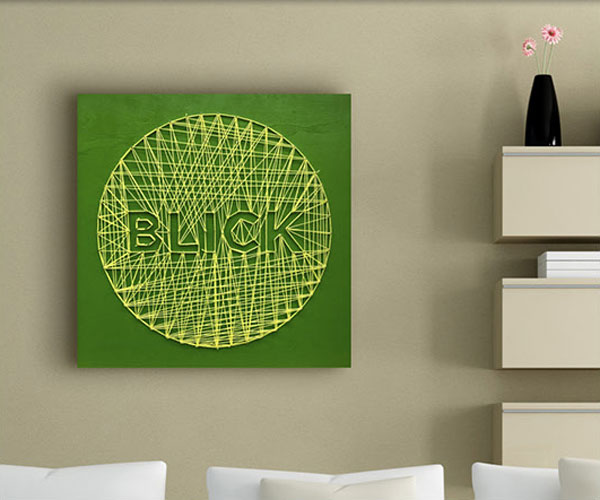
String Art

Instructions
1. Paint a background on your wood panel with Montana Gold Acrylic Professional Spray Paint. Let dry.
2. Now it's time to apply the template. To create a design, print out (or draw) a word, pattern, or shape on a sheet of paper. Place the template over the painted panel and tape it down where you'd like your design to go.

3. Hammer nails along the outline of your design, remove the tape, and lift the template off the panel. You may have to tear the template to remove it, but don't worry — you won't need it again.

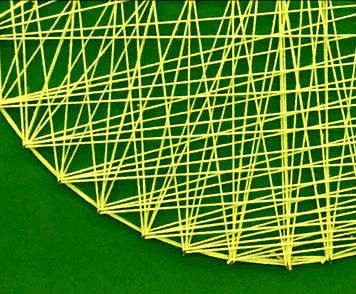
4. Tie a string or yarn around one nail to start your design and then wrap it around the other nails. Use a zig zag pattern, stripes, or go all over to create your own unique pattern. When you're happy with the pattern, tie the end of the string to a nail and your string art is complete!
Tip: If any of the nails feel loose, use a dab of Krazy Glue where the nail meets the panel to secure it.