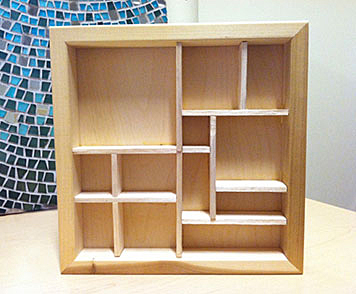
Shadowbox Keepsake Holder

Instructions
1. Plan out the arrangement of your shelves on transfer paper. Use a ruler and a marker to make a template.
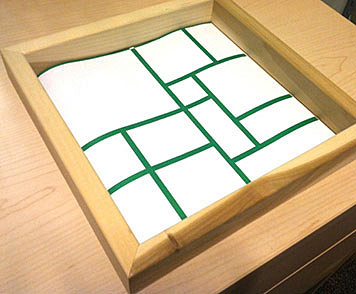
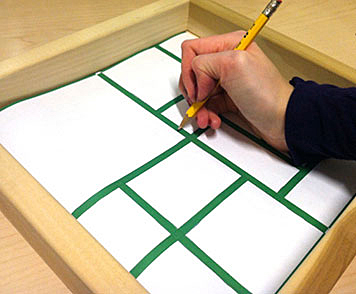
2. Place the template inside the wood panel and firmly trace the lines of the design with a pencil. This will transfer your design to the panel.
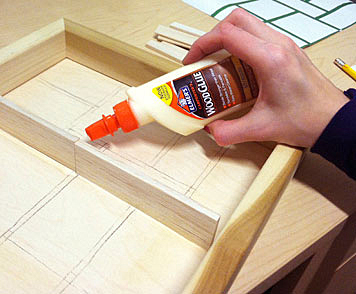
3. Measure and cut pieces of balsa wood with an X-Acto knife to fit the design. Glue the pieces down with wood glue. Wipe the seams with a scrap of wood as you go to remove any excess glue.
4. Let dry overnight so that the wood glue cures fully.
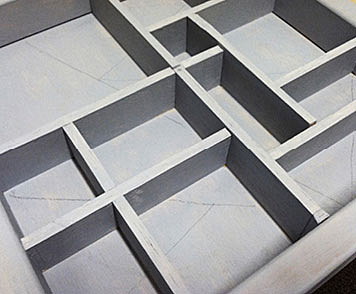
5. Prime the wood with Blick Studio Acrylic in Neutral Gray. This first layer of paint will help smooth any cracks or roughness in the wood. Use a pencil to draw a simple background design onto the primer. NOTE: For a more complex or stenciled background design, prime the inside panel first. When dry, draw your design on top of the primer before adding the shelves.
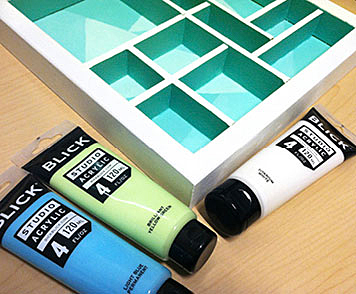
6. Fill in the design with different complementary colors. A Blick Studio Decorative Angular brush works well for this. Accent the outer frame and interior lines with white to give the piece a fresh, clean look. We recommend two or three coats of each color.
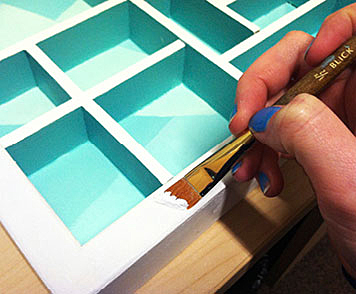
7. This design uses Light Permanent Blue, Brilliant Yellow Green, and Titanium White. But feel free to experiment with any two colors in the same family. When the shadowbox is dry, fill it with your favorite keepsakes. You can add picture hooks on the back of the piece and hang it on your wall.