No-Blender Pulp Painting


Instructions
Preparation Pulp paintings need to be created on a smooth, absorbent surface such as unprimed canvas, denim, or linen. For best results, secure the fabric temporarily to a piece of scrap corrugated cardboard with staples or masking tape. This will make it easy to move the artwork, protect table surfaces from the dampness, and keep the fabric from buckling.
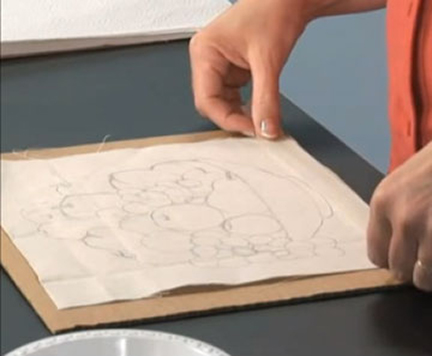
1. Create a sketch on a piece of canvas. Securely tape the sketch to a piece of corrugated cardboard.
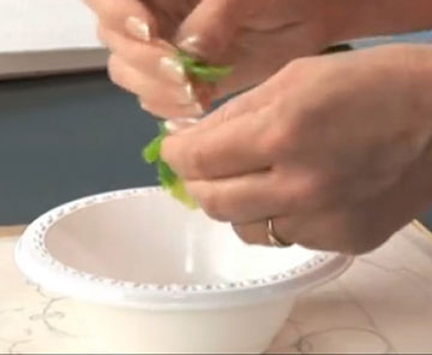
2. Tear tissue paper into very small pieces and place them in a small bowl. Use multiple bowls to work with a few colors at a time. Colors may also be combined. Add just enough water to wet the paper. Mix the water and paper with your fingers, further tearing and pressing pieces together to form small, pulpy clumps.
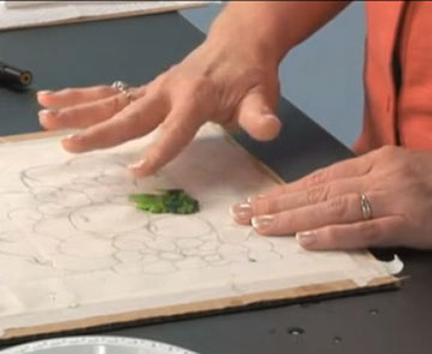
3. Press the tissue paper pulp onto the fabric surface. The first few clumps will most likely not want to stay put. Keep adding pulp until there is enough to hold it down. Repeat, allowing pulp pieces to overlap each other until the painting is complete.
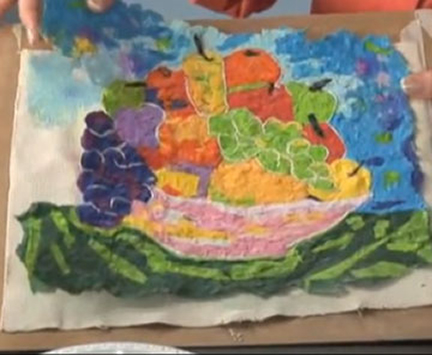
4. Pull the canvas away from the back and brush a coat of glue onto the back side for strength. The front side may be left as is or finished with a clear gloss or matte acrylic medium.
Here are a few tips for working with tissue paper pulp: 1. Decorative and patterned tissue papers may also be used. It is important to use non-bleeding tissue paper. 2. Work only one area of the painting at a time so that pieces of pulp overlap one another. 3. Blot the paper pulp frequently with a paper towel, pressing down to remove excess water. 4. Paintings do not need to be solid. Consider open areas and negative space. (As the tissue pulp dries, the fibers will interlock and re-bond to one another to form a solid piece. HOWEVER, once a section is dry, it can’t be re-bonded. Therefore, if the painting is created in multiple sessions, a small amount of glue will be necessary for the wet pulp to bond to the dry. Place a dab of glue on the dry pulp area and place the wet pulp directly into the glue.)