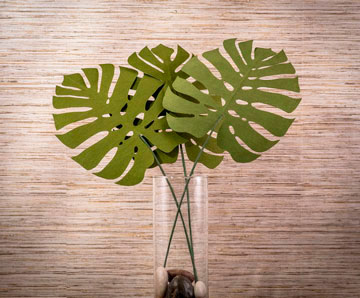
Tropical Faux Leaves

Instructions
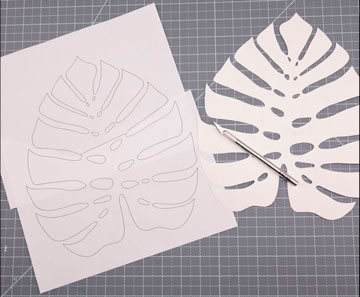
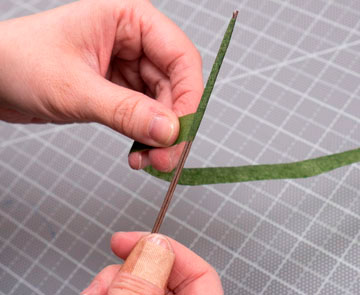
1. Download and print the template from the link above. Cut out the two halves and tape them together or draw your own leaf. Tip: Trace and cut the template out of heavier weight cardstock and seal with Mod Podge to make it stronger and longer lasting.
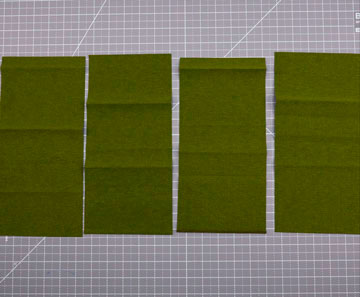
2. Cut each strip of crepe paper into four, 5-1/2" x 12" Sheets.
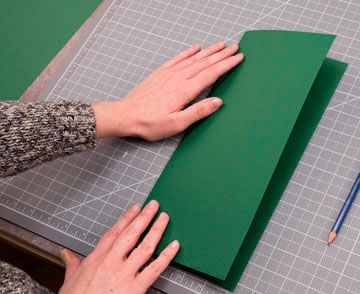
3. Cut a piece of dark green construction paper down to 11" x 12".

4. Mark a point halfway across the short length of the construction paper. Score and fold it in half, creating two sides that are the size of your cut-out crepe paper.
5. Use the crease line as a guide and glue two pieces of crepe paper down onto both halves of the construction paper. The two crepe sheets will meet in the center along the crease line, creating the center of your leaf. Tip: Do not use water to thin down the PVA - moisture causes crepe paper to buckle.
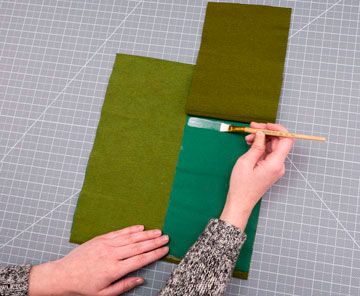
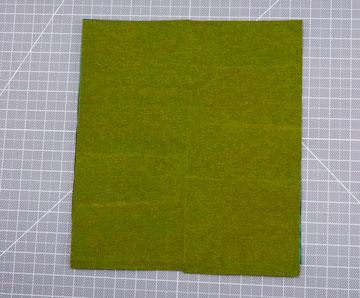
6. Repeat steps 4 and 5 on the other side of the construction paper and set it aside to dry.
7. While the glue is drying, wrap two, 14" wires with floral tape for 8". Then, add four more wires, and continue wrapping all of them until all six pieces are fully covered, for a finished length of 22". The part of the stem with only two pieces will run down the center of the leaf.
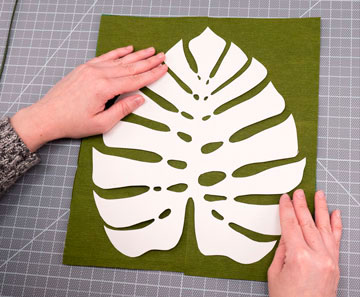
8. Once the paper is dry, align the center of the template with the crease of the paper, so the crease remains in the center of the finished leaf. Include as many holes along the center of the leaf as preferred - remember, no two leaves are alike!
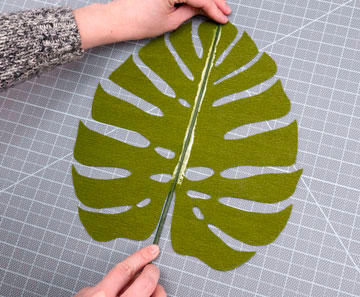
9. Turn your leaf face-down and run a strip of PVA glue down the center of the leaf. Glue your stem onto the center of the leaf, starting with the two-wire side. The part of the stem with four wires should meet with the bottom of the leaf.
10. For added character, lightly bend the stem, or add wire to the tendrils of the leaf for more flexibility. Dry brush extra color with pastels, or add vibrancy with paint.