Leather Wrap Journals


Instructions
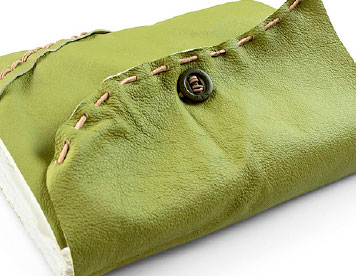
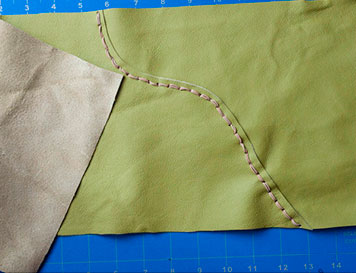
1. To make the cover, stitch together leather or suede pieces to the size you desire. The dimensions of the piece shown above are 8-1/2"H x 19"W for a finished size of 8-1/2"H x 5-1/2"W. If you make the cover too wide, you can trim it after you've put your journal together.
2. Count out 70 pages of 9" x 12" drawing paper. To give the paper a deckle edge, measure 1/4" in from each end, lay a ruler along the 1/4" measurement and tear the paper along the ruler's edge. Do the same for the top and bottom by measuring 1/2" in from the edge and tearing along the ruler. This will give you an 8-1/2" x 11" page. Do the same for subsequent pages. Tear a few pages at the same time if you're comfortable doing so.

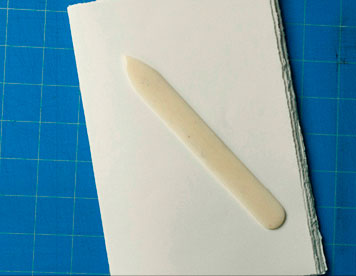
3. Count out seven stacks of 10 pages each. Each stack of 10 pages is one "signature." Fold the pages in half, laying them inside one another. After the pages in the first signature are folded, make sure they are stacked together tightly. Use a bone folder to press the folded edge flat. Repeat for the remaining signatures.
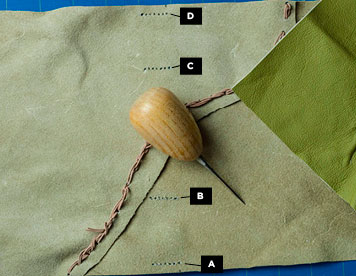
4. Lay the cover (inside facing up) on a surface that you feel comfortable cutting on. Measure 6-3/4" in from the left side of the cover and make a small mark on the top and bottom edges. From that mark measure 1/4" in from the top and bottom and punch a hole using an awl or screw punch. From those holes measure 2-5/8" in and punch two additional holes.
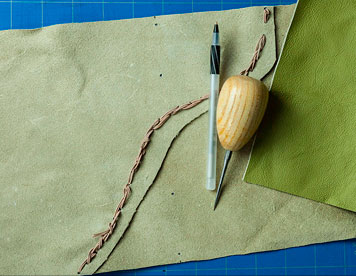
5. Now measure 1/8" to the left of each of the four holes and punch another hole. Repeat this until you have seven holes punched side by side as above.
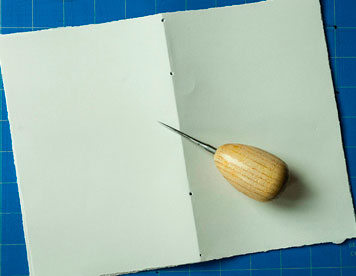
6. At the fold in the first signature, punch holes in the paper in the same place as the cover. If you lay the signature on the cover, you can make a mark to guide you in punching the holes. This will eliminate measuring every time. Repeat for the remaining signatures.
7. Now you are ready to attach the signature pages to the cover. Thread about 10 ft of waxed cord through a needle. The cover should have four rows of seven holes each. Use the diagram above as a stitching guide. Every hole is designated with both a number and letter. The number signifies the signature that will be stitched to each hole. You'll begin on the inside crease of signature 1, hole one. Download the PDF (see above) for full instructions.
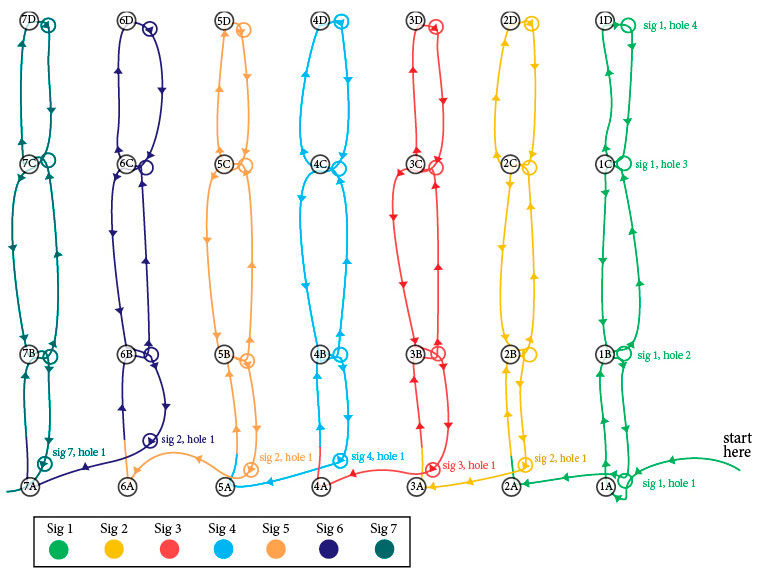
8. When you're finished with signature 7, take the cord from signature 7, hole 1 through hole 7A, to the outside and then down through cover hole 1B to the inside of the cover. Then, from the inside cover go through IC to the outside. From there push into the cover from the outside through hole 7D.

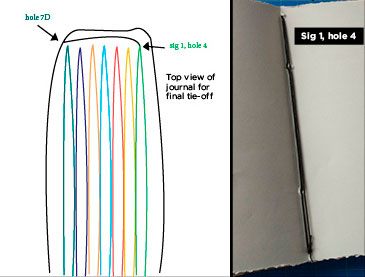
9. From hole 7D wrap the cord along the folded edge of the paper signatures and push the cord through to the crease of signature 1, hole 4 (see diagram above). Then take the cord down the crease of signature 1 and tie a knot to the tail of the cord you started with. Do not pull the cord too tight or the spine will bunch up at the top.
10. After stitching the pages together, add a button or tie closure to the outside cover and embellish it with stitching, beads, or other embellishments.