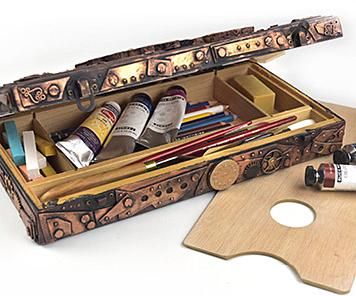
Steampunk Sketchbox

Instructions
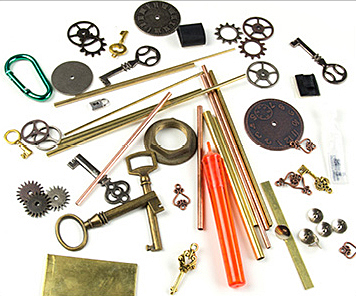
1. Start by gathering the small items you want to attach to the box. Things like old hardware, vintage keys, gears, and sprockets are great. Find similar objects in the jewelry assortment, or take apart an old clock or compass and use the parts inside. Use things that look industrial, mechanical, or from the Victorian time period.
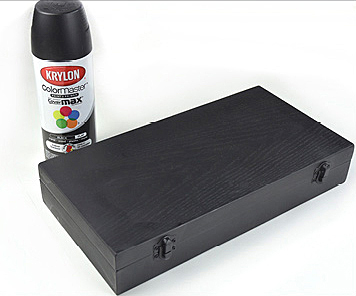
2. In a ventilated area, paint the chipboard with Krylon Flat Black Spray Paint. After drying, use scissors or a craft knife to cut pieces of the chipboard into irregular shapes of various sizes. Use the hole punch on a board to create small circles that will be used as fake rivets.
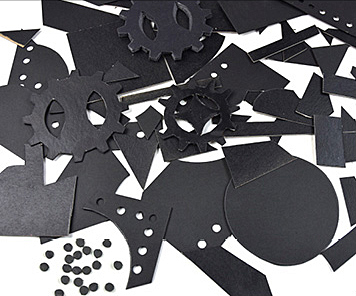
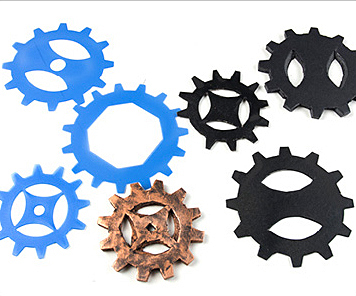
3. Use the stencils to trace large gear shapes onto pieces of board. Cut the gear shapes out using sharp scissors or a craft knife. Elmer's 3/16" Blackcore Foamboard can be used to make them look thicker and heavier if desired.
4. Open your box and place it open-side-down atop newspaper. Paint the box evenly using Krylon Flat Black Spray Paint. Coat the entire box, including the latches. Allow to dry.
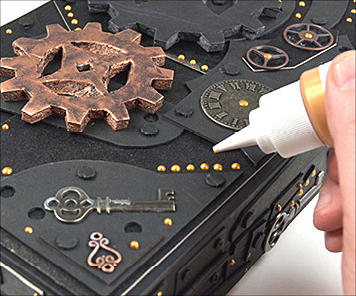
5. Start securing the large black board pieces to each side of the box using the Krazy Glue. Allow to dry. Attach smaller pieces on top of these to create interesting layers. The goal is to create the illusion of metal plates bolted to the box. Make sure to leave the area around the lid of the box clear so the box can still be opened and closed easily.
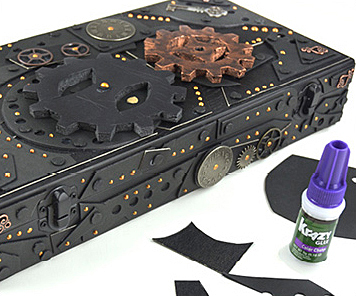
6. Glue the small round pieces of board that were punched out to create the look of flat rivets. Add small drops of the Lumiere 3D Paint to make smaller rivets. Finally, attach some of the small objects and embellishments. Allow to dry and check to make sure everything is attached firmly. Apply another coat of black spray paint over everything and allow to dry.
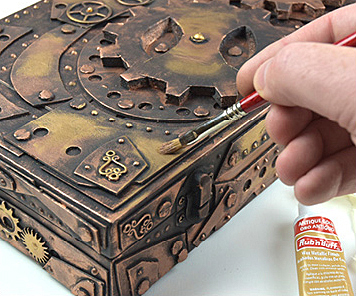
7. Use a soft cloth, brush, or your finger to apply the Antique Gold Amaco Rub 'n Buff over the surfaces of your box. Apply evenly and thinly with a gentle, circular motion. Allow to dry when you have achieved the desired metallic effect.
8. Fill box with art supplies and give a unique gift!