Stamped Clay Spring Ornaments

Instructions
1. Use a rolling pin to roll out the clay on wax paper. The clay dries out quickly, so work fast! The clay should be 1/4" thick.
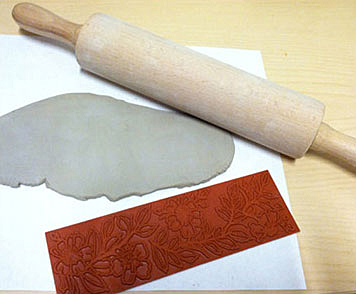
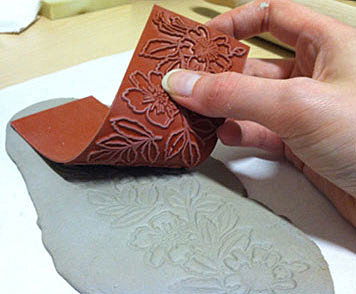
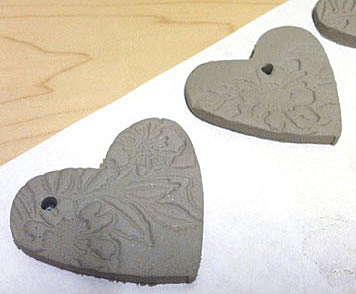
2. Lay the clay stamp onto the clay and softly roll the stamp until it makes a clear impression.
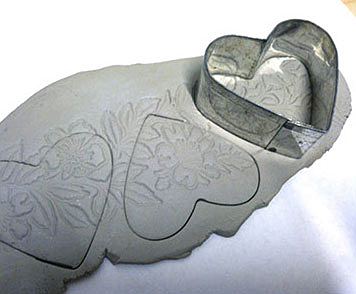
3. Use cookie cutters or a knife to cut free-form spring shapes from the clay such as hearts, chicks, eggs, and rabbits.
4. Poke a hole in the upper half of each shape and allow the ornaments to dry overnight until the clay is no longer cool to the touch.
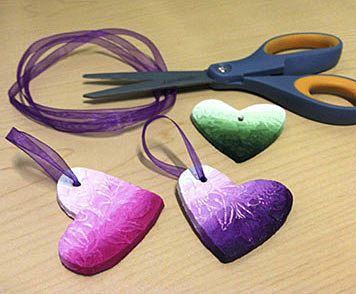
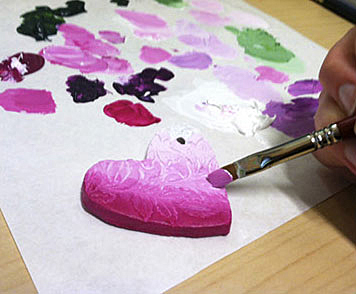
5. When completely dry, coat the ornaments with two coats of white Blick Studio Acrylic paint. Then gradually start adding color to the white, making it more and more vibrant toward the bottom to create an ombre effect.
6. Attach ribbon or string. Hang your ornaments on a grouping of white painted branches to create a festive seasonal tree, hang them in a window, or use as a gift tag on a present.