Embellished Plastic Eggs

Instructions
1. Start by brushing Mod Podge adhesive over half of an egg. Pour glitter over the Mod Podge, fully covering the area. Some glitter will spill over, so use bowl or plate to catch it.
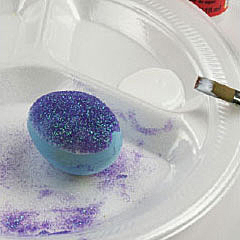
2. Brush Mod Podge over the rest of the egg. Pour glitter over this area and use the spilled glitter to completely cover the egg.
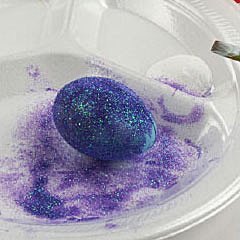
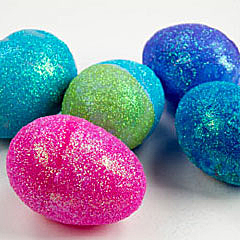
3. Mix different colors of glitter for fun combinations!
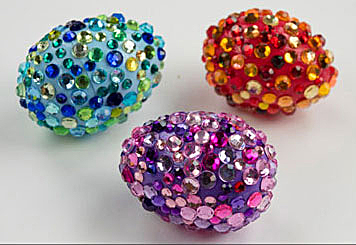
4. Pour the bag of rhinestones into a container. Sort the stones by color family so it's easier to create a cohesive egg. Brush Mod Podge adhesive over small areas of the egg.
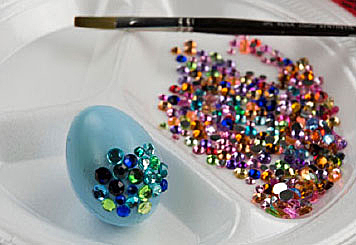
5. Attach rhinestones of similar color families to the egg. Each bag of rhinestones should cover about three standard plastic eggs.
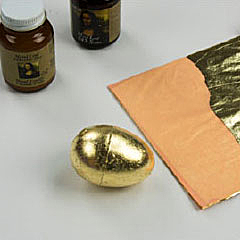
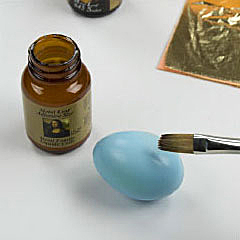
6. Apply a thin coat of gold leaf adhesive sizing over the entire egg. You may need something to hold the egg upright.
7. Wait 30–60 minutes until the sizing is tacky. The adhesive should be clear when it dries. Reference the kit for further instructions.
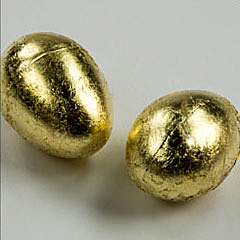
8. Apply gold leaf to the entire egg. Then, apply two thin coats of the metal leaf sealer.
9. Plug in the glue gun and allow it to heat up. Insert a glue stick.
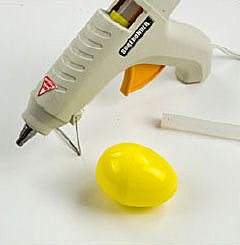
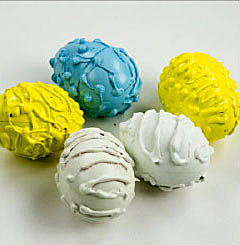
10. Use the glue gun to create 3-D designs on the egg.
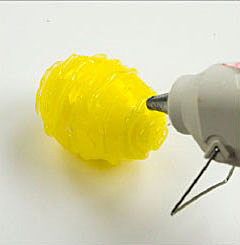
11. Allow the glue to dry, and then add color with spray paint.
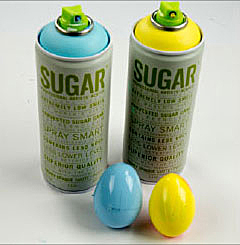
12. Peel vinyl letters or numbers from the sheet and stick them on the eggs.
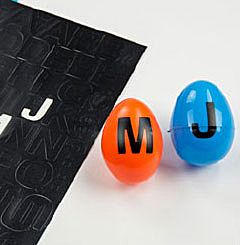
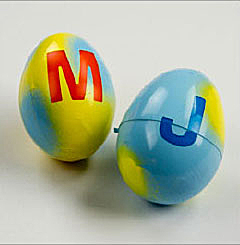
13. Spray eggs with your chosen colors of spray paint.
14. Allow the paint to dry for about two minutes. Then, while the paint is still wet, carefully peel off the vinyl stickers.
15. Apply two coats of white gesso to a plastic egg.
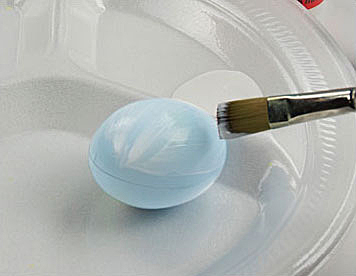
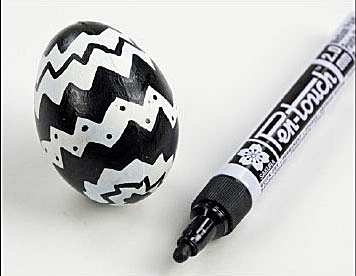
16. When the gesso is fully dry, draw graphic doodles over the egg with a black marker.