Coptic Stitch Journal

Instructions
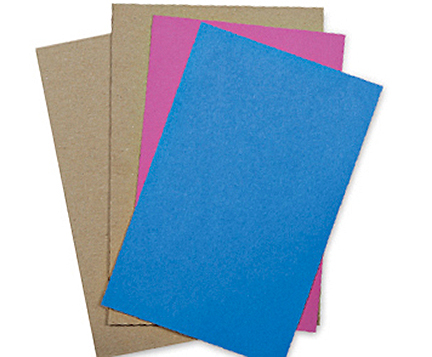
1. Cut the journal pages and board for the cover. You'll need two 8-1/2" x 11" pieces of decorative papers for the cover, two 6" x 9" pieces of binder board, two 5-1/2" x 8-1/2" pieces of cover stock or cardstock, and 48, 9" x 12" sheets of drawing paper.
2. To make the front cover, center one of your binder boards on a piece of decorative paper. Fold the corners of the paper over the board and glue the edges, then fold in the sides and glue them in place.
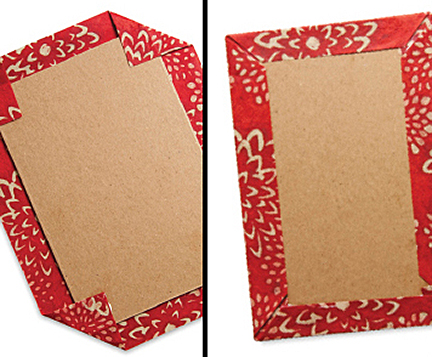
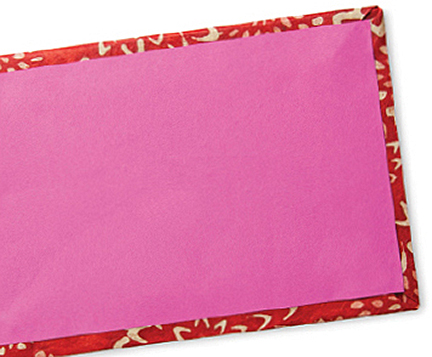
3. Center a piece of cardstock over the exposed board and glue it down. To make the back cover, repeat steps 2 and 3. Place the covers to the side to dry.
4. Fold individual sheets of drawing paper in half and crease them with a bone folder. Place four folded sheets inside each other; this group of four sheets is called a signature. You should have enough paper for 12 signatures. Make fewer signatures if desired.

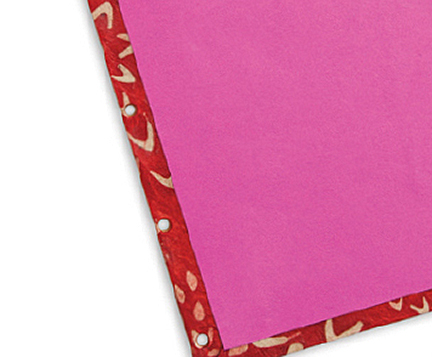
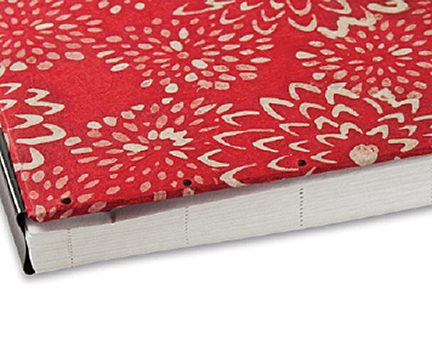
5. Make six evenly spaced marks on the back of one of your covers, making sure the marks are at least 1/8" from the edge of the cover. Use the screw punch to make holes where you made your marks, again making sure not to punch too close to the edge. Lay the punched cover onto the unpunched cover and use it as a template to mark and punch holes into it. Make sure your covers are facing the way the book will eventually be assembled.
6. Stack your signatures on top of each other, making sure to line them up perfectly. Use clamps or clips to hold the signatures together. Place one of the covers on top of the signature and use the holes as a guide to draw lines onto the folded sides of the signatures.
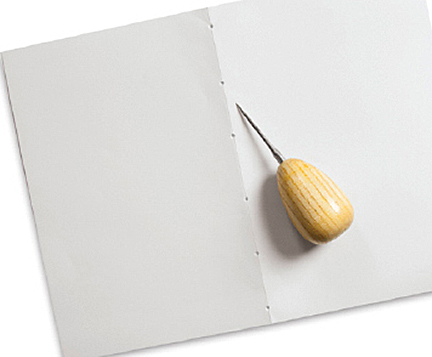
7. Open up a signature and use an awl to poke holes at the marks you made in step 6. Do this with each signature.
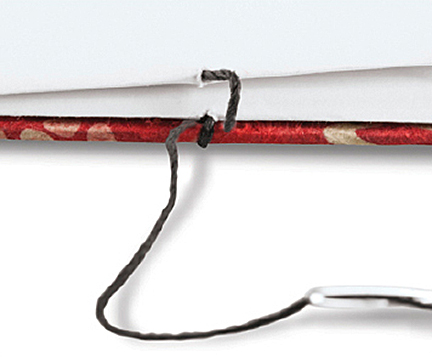
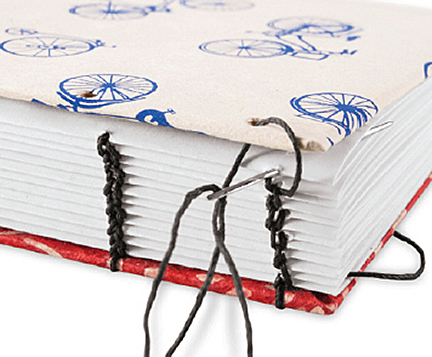
8. Thread a needle and tie a knot at the end of the thread. Open the first signature and run the needle through the bottom hole to the outside, then run the needle through the bottom hole of the cover.
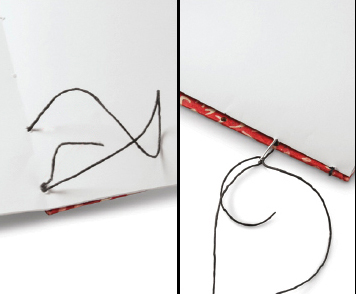
9. Run the needle back through the bottom hole to the inside crease and then up through the next hole to the outside. Repeat steps 8–9, attaching the signature to the cover at each set of holes.

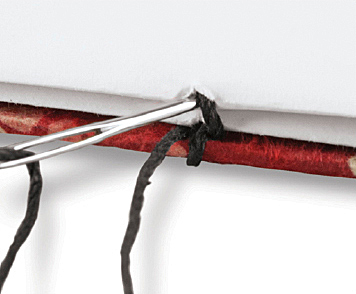
10. At the last hole, instead of taking the needle through the first signature again, add another signature on top of the first one and run the needle through the top hole of the next signature to the inside crease. From there run the needle through to the outside of the next hole.
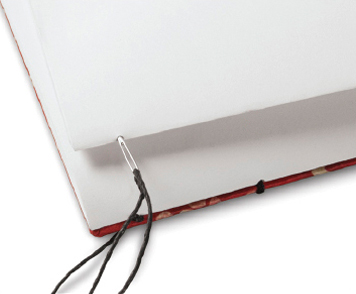
11. Push the needle and thread between the first signature and the cover and bring the needle back out so the thread goes behind the attaching cover stitch. Pull tight.
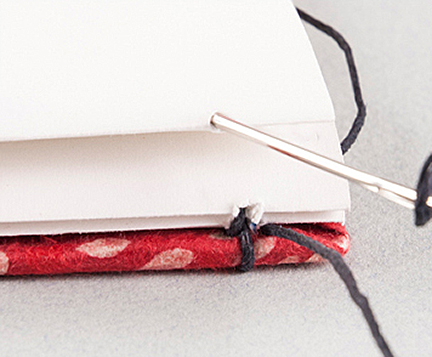
12. Push the needle and thread through the top signature (to the inside). Move to the next hole in the signature and repeat the stitch until you reach the last hole in the signature.
13. Start a new signature. Run the needle through to the inside of the bottom hole in the signature, then run the needle through to the outside of the next hole.
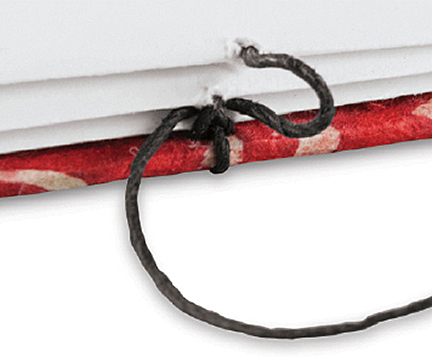
14. Make the same stitch as in steps 11 and 12. This time, however, only go behind the stitch in the signature below. Repeat the stitch until you reach the last hole in the signature. Attach a new signature. Repeat until all signatures are attached.
15. Attach the remaining cover to your signature by following step 8.
16. After the cover has been attached, tie off and cut the thread.
